The machine can disassemble each part and is called DIY laser engraving machine. Because they have each part disassembled, users can assemble each piece themselves by looking at the user manual or guide that comes with these machines. If you are a hobbyist, you will enjoy this activity because it can really help you build your own machine. Although things can get tough in between, you have to pay attention to the guidelines. The effort will be worth it in the end.
Also, in this regard, there are many articles on the internet showing you how to assemble a specific DIY laser engraver. They instruct people on how to assemble a DIY laser machine by uploading videos of themselves at work. And before we get into some of the hot DIY laser engraving machine models, let us guide you on how to buy the right DIY laser engraver and what to look for before you buy because we don’t want you to get stuck in a dead end when you start pursuing your hobby or interest. A laser machine that is usually small in size and fits into your home without taking up too much space is called a DIY laser engraver. These machines are not designed for engraving on mass production or batch lines. Instead, they are designed for engraving smaller objects and are too personalized. They have smaller engraving areas and their own set of software to run the machine.
Why DIY
Do-it-yourself is nothing new – we’ve always made things with our own hands – but it’s trendy once again. DIY Laser Engravers shifted when mass production of items came into play, and subsequently, many of the skills involved in doing things, such as furniture painting, woodworking, and craftsmanship, fell by the wayside.
One of the reasons to turn back to DIY Laser Engravers is because it makes us feel good. DIY Laser Engravers can sometimes not only save you cash but also help save the planet by recycling and upcycling. Creating and building things yourself also gives you pride and defines your personal style – it makes you stand out from the crowd. Best of all, when you work on DIY Laser Engravers projects, you usually learn new skills, and your time is spent « in the flow » so you can focus on the task at hand. This is the kind of positive thinking that is very important for a person to have a healthy mind, body, heart, and soul. Here I explore all these and more reasons so you can be proud to do DIY Laser Engravers and have a healthy dose of happiness.
DIY Laser Engravers steps to use
Step 1: Parts and Materials Required
Assemble the parts of the assembly according to the instructions. If you can’t read the assembly instructions, you can contact the seller to guide you through the installation or look for related videos on YouTube.
Step 2: Start the machine.
The machine usually has two ports: a power port and a USB port. While the USB port helps with communication, it also acts as a power port. Use two power adapters and plug them into the adapter, which will solve the power problem.
Step 3: Using Laser Carver Software
Drag and drop the image into the Placement section. We then change the engraving time of the DIY Laser Engravers depending on the design and material. Click on the DIY Laser Engravers preview to see where will place the print. If you are satisfied with the placement of the material, you can start printing with DIY Laser Engravers. Note that you should wear glasses during the DIY Laser Engravers engraving process.
Step 4: Write text to Jpeg file
Step 5: Engrave Cardboard
How to use DIY Laser Engravers
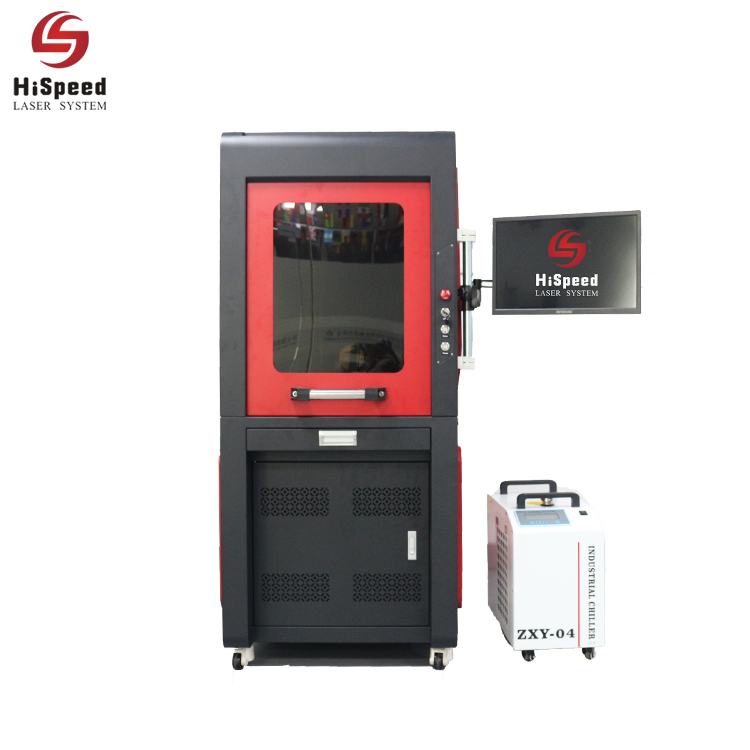
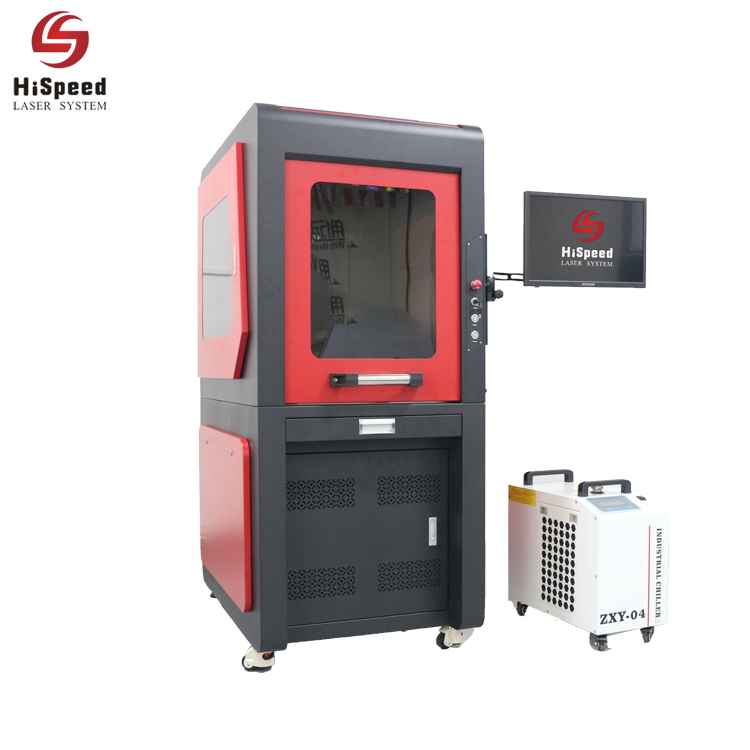
DIY Laser Engravers are the universal solution for engraving souvenirs, making stamps and seals, and laser marking for homes, small workshops, and medium-sized businesses. DIY Laser Engravers are an inexpensive and practical solution for homes, offices, and small workshops. The engraver/cutter can engrave and cut various materials, including PLA, wood, plywood, leather, cardboard, brass, acrylic, and more.
DIY Laser Engravers are a great addition for the home or small office and can produce incredible results. A laser engraver or cutter works by focusing a high power laser onto the surface of a material. The beam is focused to a point as small as one thousandth of an inch and can burn, melt or even vaporize the material it hits.
The laser engraving machine has four main parts.
- laser module: emits a high intensity beam
- stepper motor: drives the laser module to the desired pint
- Controller: controls the direction, intensity and speed of movement of the laser beam
- Surface: the surface on which the laser beam falls/the material to be engraved or cut
Note:
Please wear safety goggles before using DIY Laser Engravers. It is mandatory that you should remember that this tool is useful, but not at all a toy. Because improper use of a DIY laser engraver can cause permanent damage to your eyesight from the laser beam. Although DIY Laser Engravers are designed to use a protective case, they are generally not harmful to the human eye. However, in order to prevent accidental conditions, it is important to wear eye protection when using the DIY Laser Engravers.
During the engraving or cutting process, burning surfaces can produce harmful and toxic fumes. Therefore, it is important to know that if you are carving anything, it is recommended that the fumes be vented to the outside. It would help if you always kept your room windows open. You can also use an exhaust fan near your workplace. If you are cutting PVC or any type of vinyl material, it will release chlorine gas. This can mix with moisture in the air and produce hydrochloric acid, which is harmful to people and machinery. Would you please use caution?