The laser cutting machine can process materials such as A4 paper, aosong board, plywood, density board, two-color board, acrylic, parchment, hard cardboard, etc. And laser cutting machine can even engrave a customized logo on the back of your mobile phone. Is there a tool that can quickly generate laser cutting drawings according to the size we specify? The answer is in Boxex.py!
What is Boxex.py
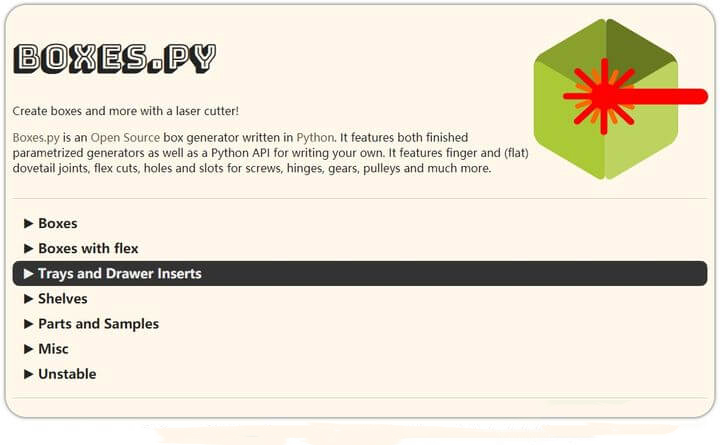
Boxes.py is an online box generator. It is essentially an open-source project that uses Python to generate cutting drawing algorithms automatically. At the bottom of the interface, you can go to GitHub to download the source code or read the documentation and API instructions. If you have learned Python and want to do some tricks, you can download the source code and make an offline program yourself. In GitHub, the project has dozens of laser cutting enthusiasts to improve together. Of course, these high-end operations are left to the programmers! Today we are going to learn how to use the laser cutting machine to generate various block diagrams and manipulate them!
Boxes.py basics
Boxes.py contains a series of box drawings, such as the most basic ordinary box drawings and the box drawings with a curved elastic structure. There are many tool trays, drawers, gears, mechanical structure drawings, and drawings of some creative projects in addition to box drawings. Some interesting open-source projects, such as the laser-cut version of Otto robot shell drawings, etc. Boxes.py Continuously bringing together various open-source projects is an open-source laser cutting drawing sharing platform.
More importantly, the drawings generated by Boxes.py have a plug-in structure, which can directly set the cutting loss compensation. So the cut plug-in structure can be perfectly spliced together, and it can be firmly fixed even without glue. Boxes.py provides a variety of plug-in designs. The plug-in form automatically generated by Boxes.py is inserted into the junction of the two pieces of material. When designing the work’s appearance, we don’t need to consider the specific size of each interface. It improves our efficiency when designing drawings. After using laser cutting and Boxes.py proficiently, we can use Adobe Illustrator (AI), AutoCAD, CorelDraw, or other drawing software to edit our works.
How to use Boxes.py to generate drawings?
Box type selection and drawing settings
After entering Boxes.py, we will see many options, each with various boxes and drawings related to laser cutting. For example, ordinary wooden boxes, wooden boxes with elastic bending structures, pallets and drawers, shelves, commonly used drawings of cutting works, etc.
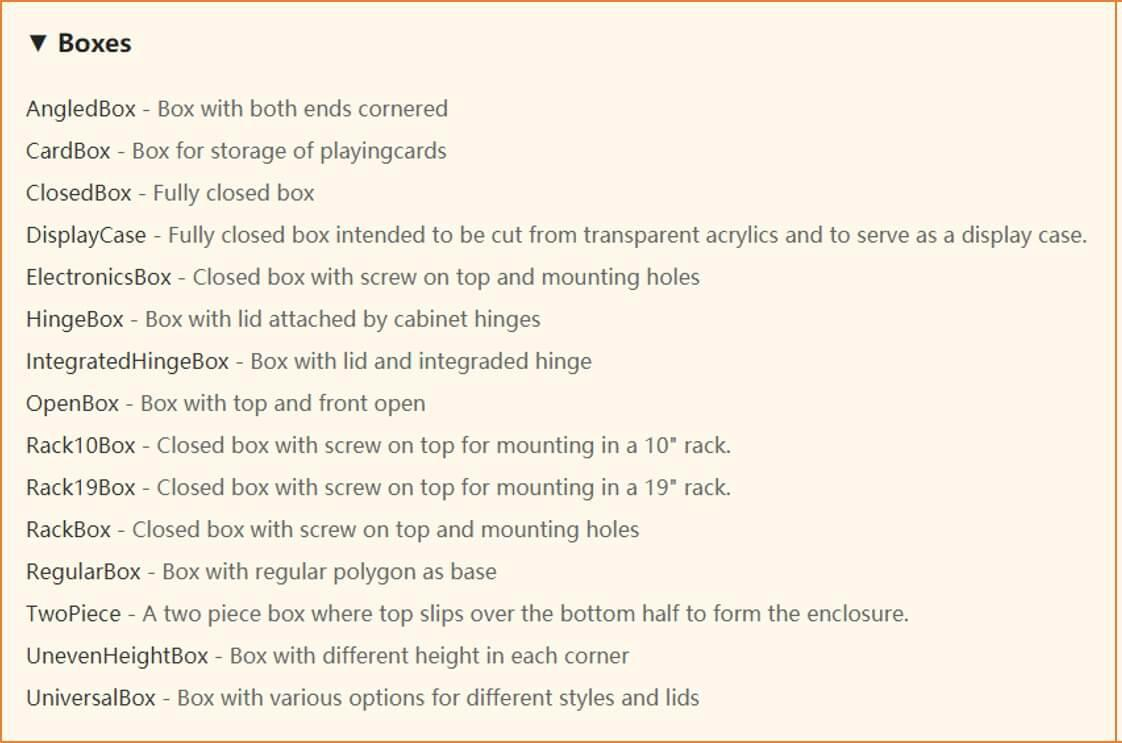
There are some detailed options under each box type. For example, by clicking the drop-down arrow of Boxes flex, we can see several box choices. After clicking one of FlexBox3, the following interface will appear.
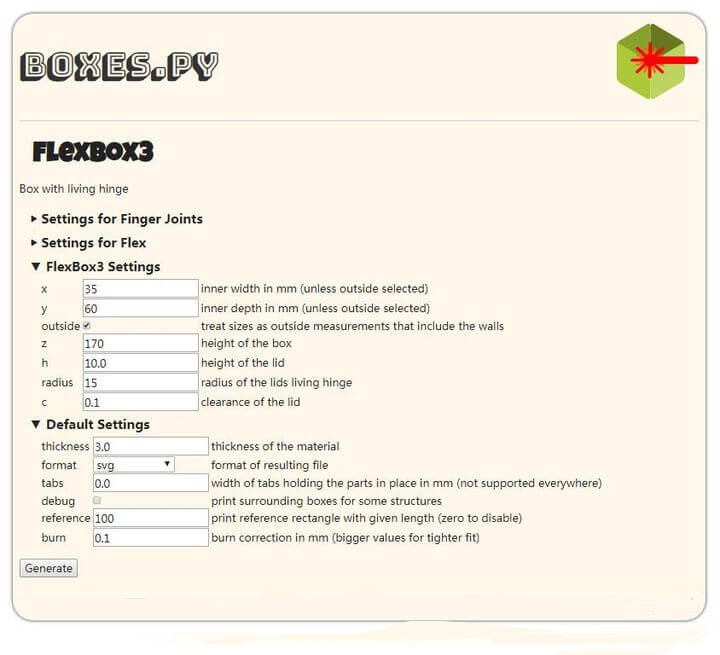
We can use this step to set some parameters that we want to cut the drawing. For example, length, width, height; some parameter settings of this type of box; the thickness of the cutting material; the format of the generated graphics; cutting loss compensation, etc. Note that we must select the thickness correctly, and it must be the same as the thickness of the actual cut material.
When we set all the parameters and dimensions, click Generate below to generate the SVG format drawing. And at the same time, another webpage will pop up, showing the drawing we want! You can choose different options to generate various laser cutting drawings and design unlimited personalized boxes!
Basic setting parameter description
We need to set some parameters in each box, and each set has a corresponding description.
Save the laser cutting drawing file
When you set all the parameters, and you are satisfied with the drawing, you can right-click on the generated web page. And select « Save Image As » or press Ctrl+S to save the file. After choosing the save path, the cutting file will be saved locally.
Import the drawing into the laser cutting machine software LaserMaker. After setting the cutting parameters, click « start creating » to start cutting our drawings! After cutting, we can start to assemble it! A practical stationery box is ready!
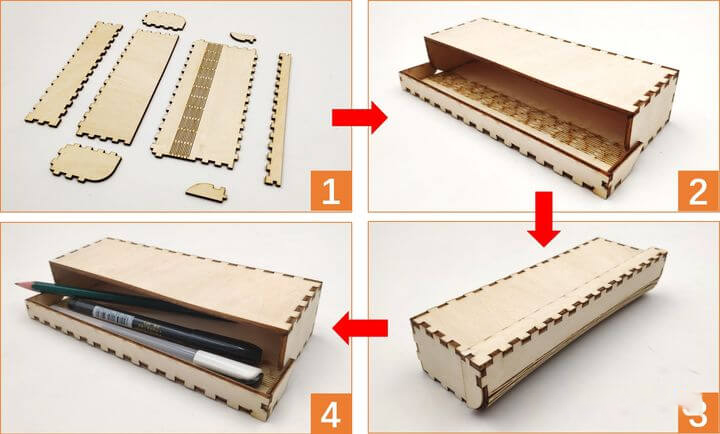
Case description of different boxes
This part will introduce the methods of generating drawings for three different types of boxes and get familiar with Boxes.py through actual production!
Use AngledBox to make a pen holder
First, enter the AngledBox page by selecting Boxes -> AngledBox, and set the length, width, and height dimensions and the number of peripheral boards. By changing n, you can change the number of panels around the periphery. As the picture shows, if it is set to 4, there are (4+1)*2=10 planks in a week; if it is set to 2, there are (2+1)*2=6 planks in a week. The larger the set of n is, the closer the pen holder is to the circle. Because of the difficulty of installation and the angle of use, it is advisable to set 8-10 wooden boards a week.
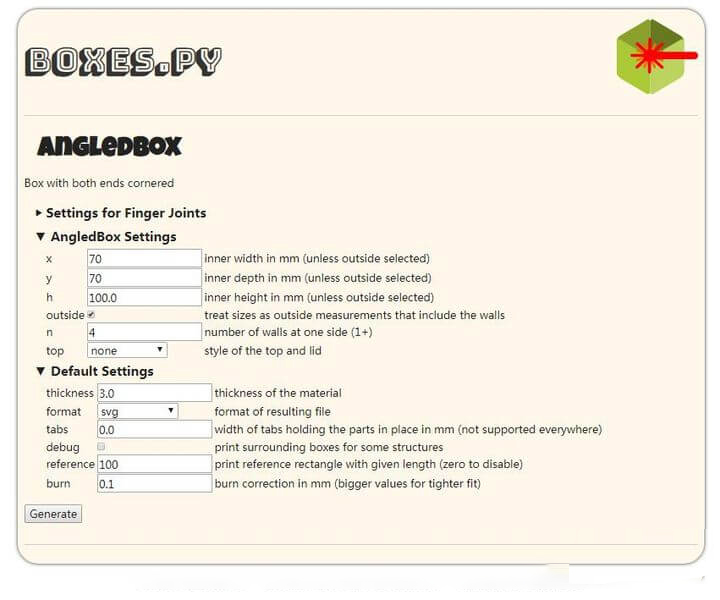
Set the size parameters, click Generate, and the drawing as shown in the figure on the new pop-up page.
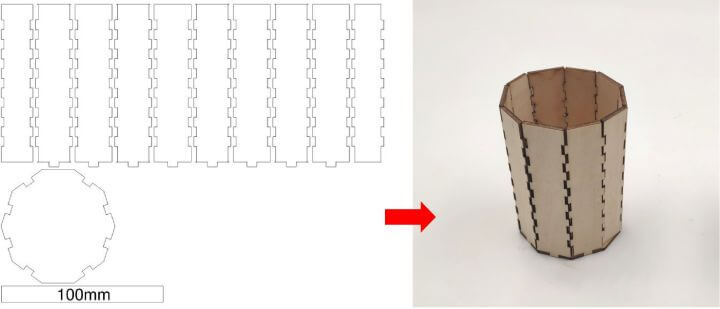
The drawing generated when n=4 and physical drawings after production
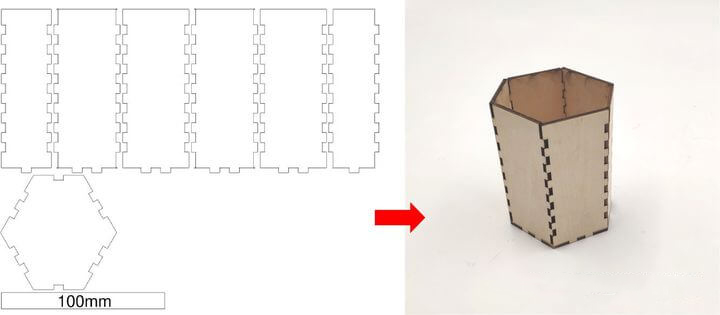
The drawing generated when n = 2 and physical drawings after production
Besides, we can choose several different styles of lids by setting the top, as shown in the figure below,

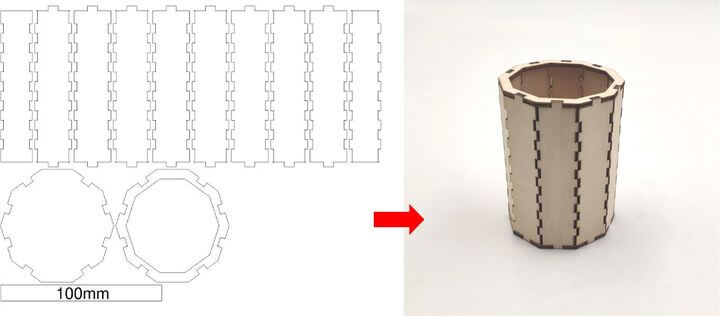
The drawing generated when top is set to angled hole and the physical drawing after the production is completed
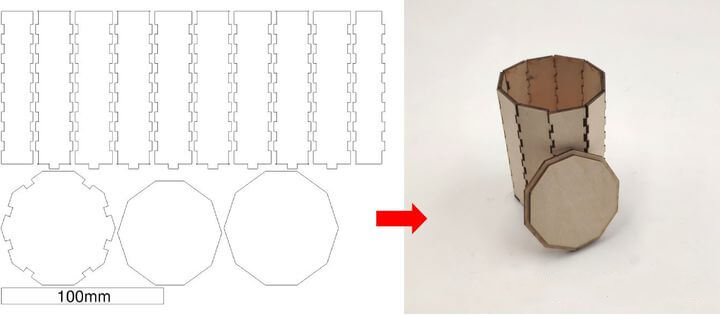
The drawing generated when top is set to angled lid and the physical drawing after production
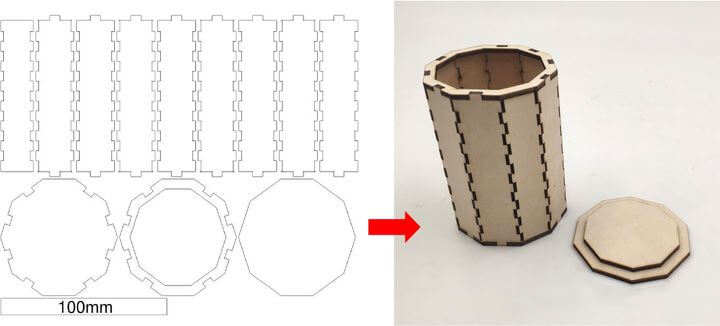
The drawing generated when top is set to angled lid2 and the physical drawing after production
Use HingeBox to make a stationery box
First, enter the HingeBox page by selecting Boxes -> HingeBox, and set the overall length and width of the box and the height dimensions of the box and the lid.
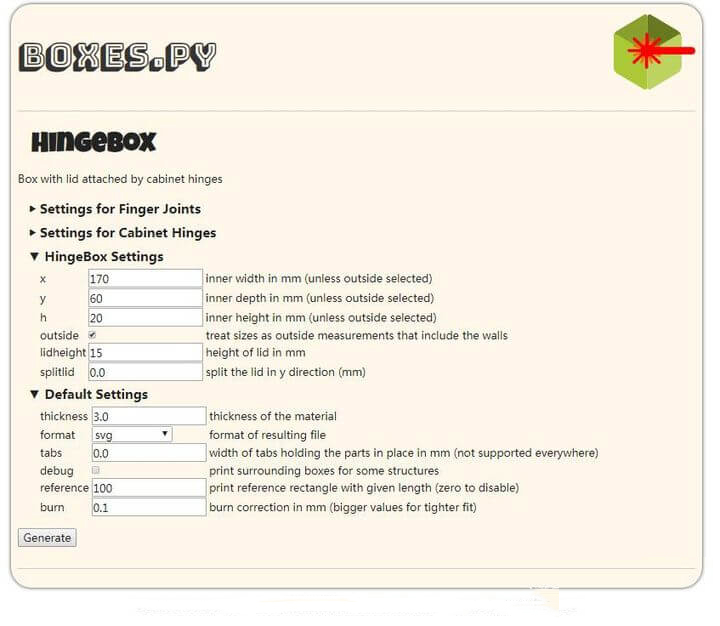
Set the size parameters and click Generate to generate the drawing.
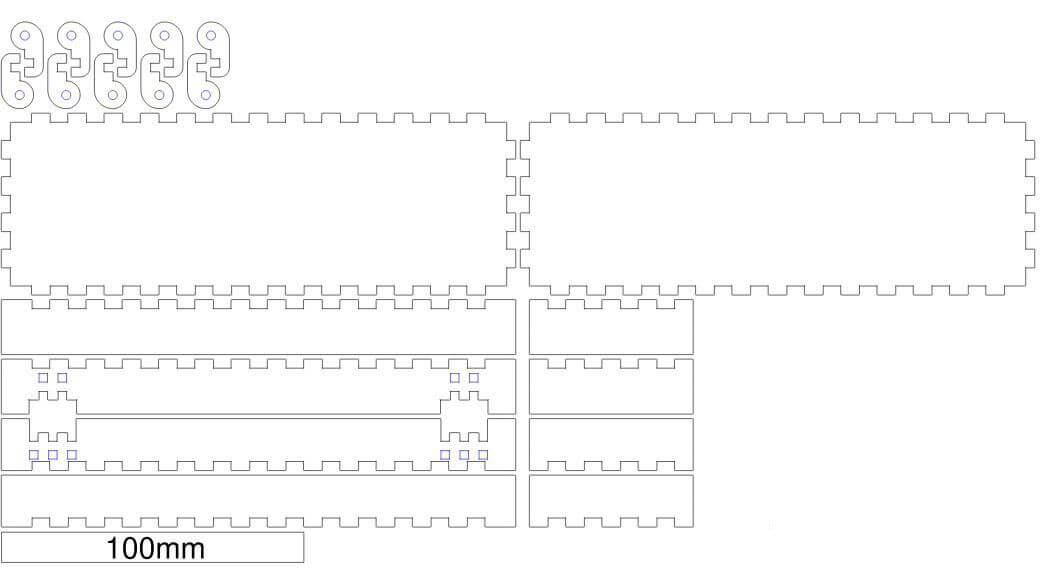
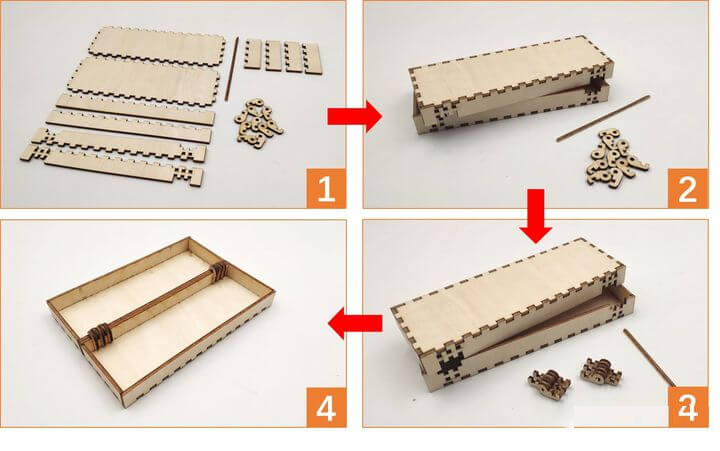
After some assembly, a practical stationery box is born, which can also be used as a glasses case~
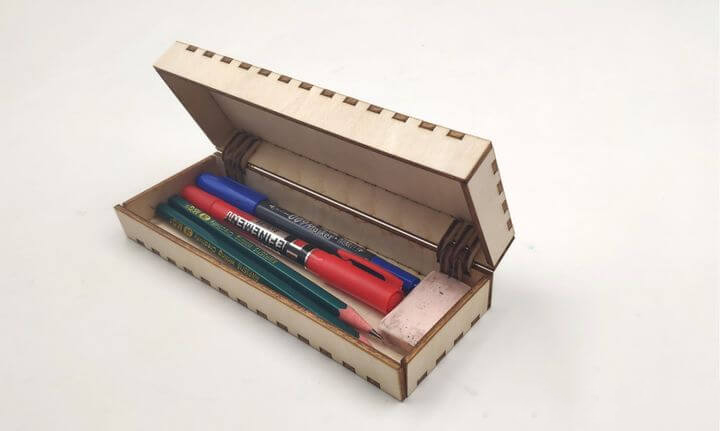
Use FlexBox2 to make a business card case
First, enter the FlexBox2 page by selecting Boxes with flex -> FlexBox2, and set the overall length and width of the box and the height of the box and the lid. Note that the radius is the radius of curvature of the corner of the box. Try not to set it too small. Otherwise, it is easy to break the board during the assembly process.
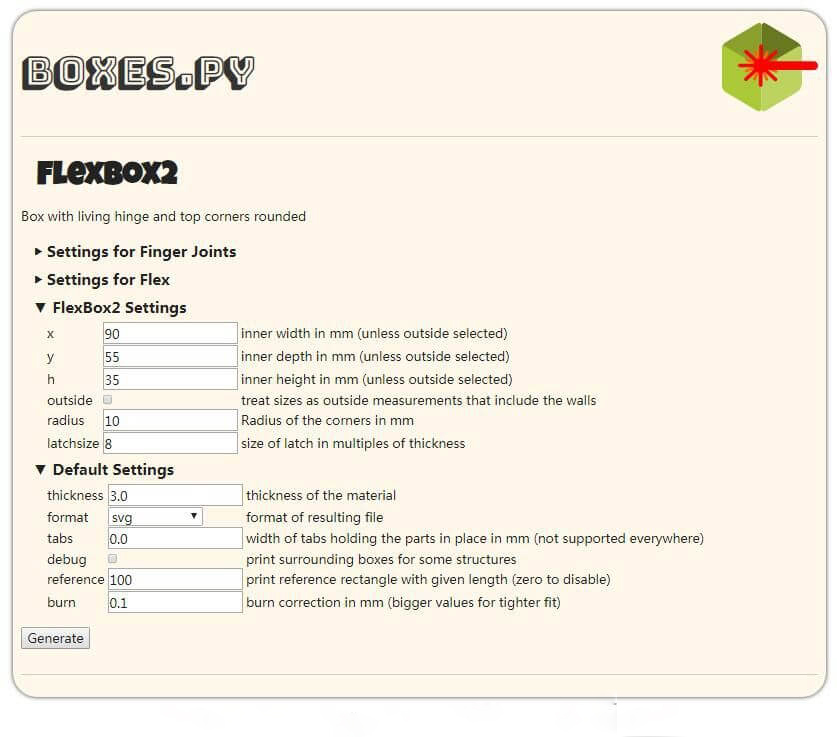
Set the size parameters and click Generate to generate the drawing.
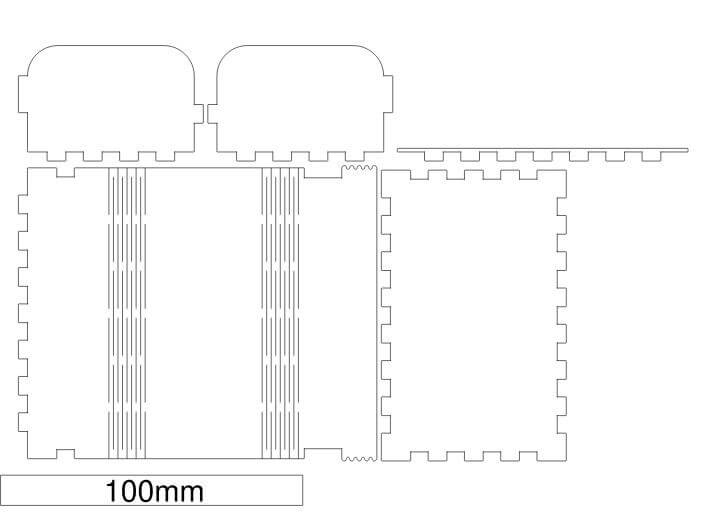
After cutting, you can start to assemble it!
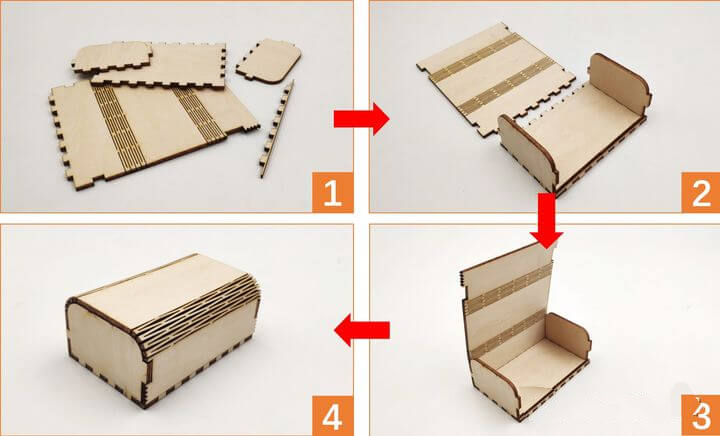
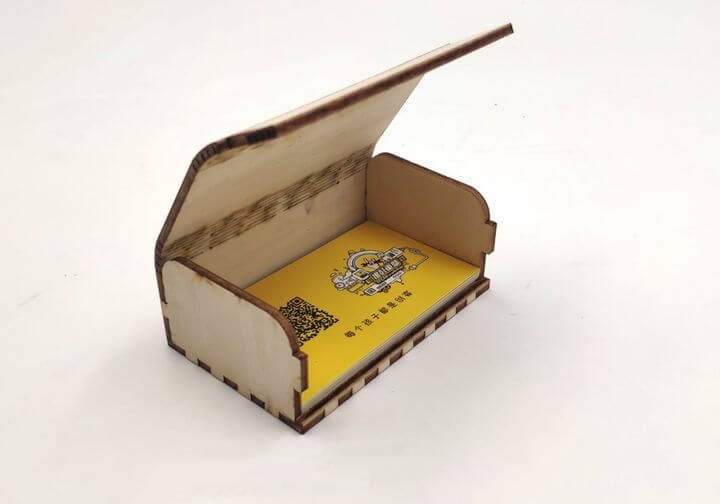
After assembling, a beautiful business card case is ready! We can find that the wooden board becomes bendable after laser cutting. Does it feel amazing?
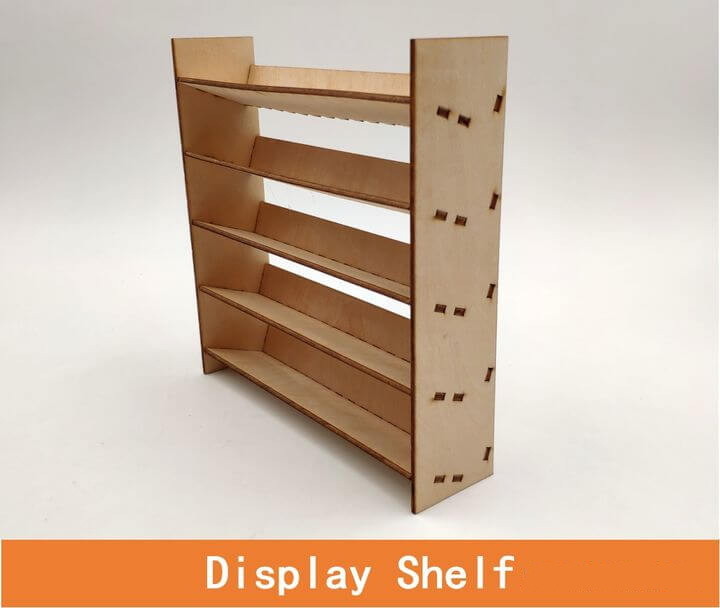
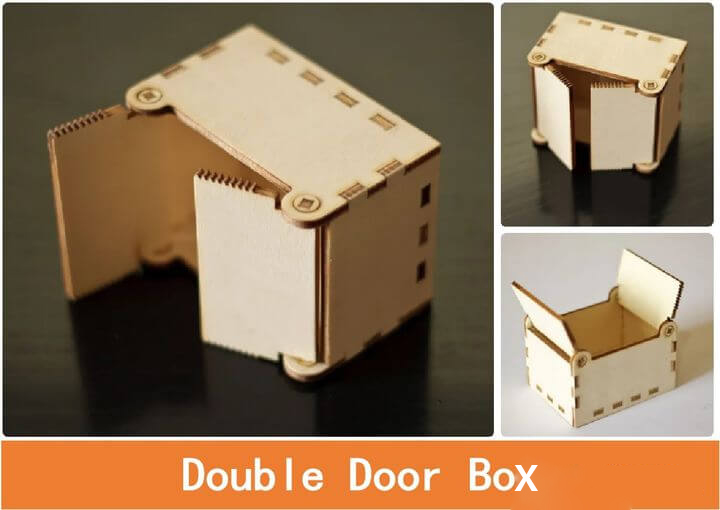
Appreciation of the finished products of various laser cutting boxes
Next, let us appreciate some of the works after using Boxes.py to generate drawings and cutting~

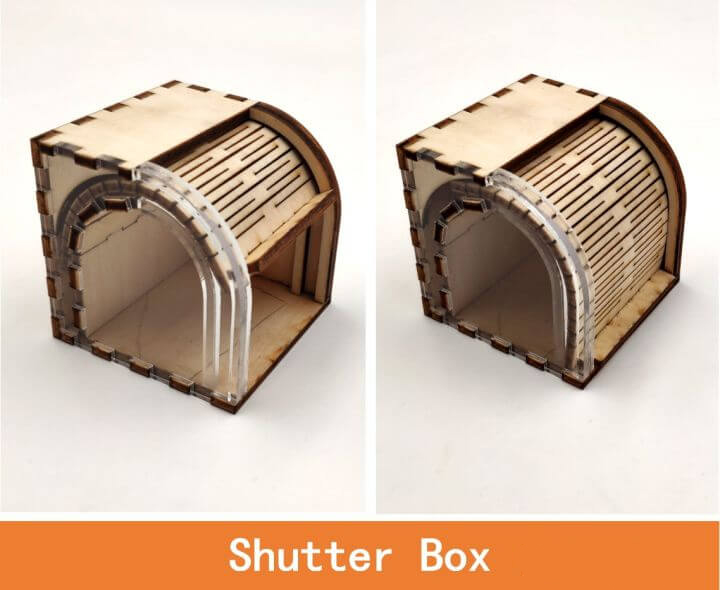
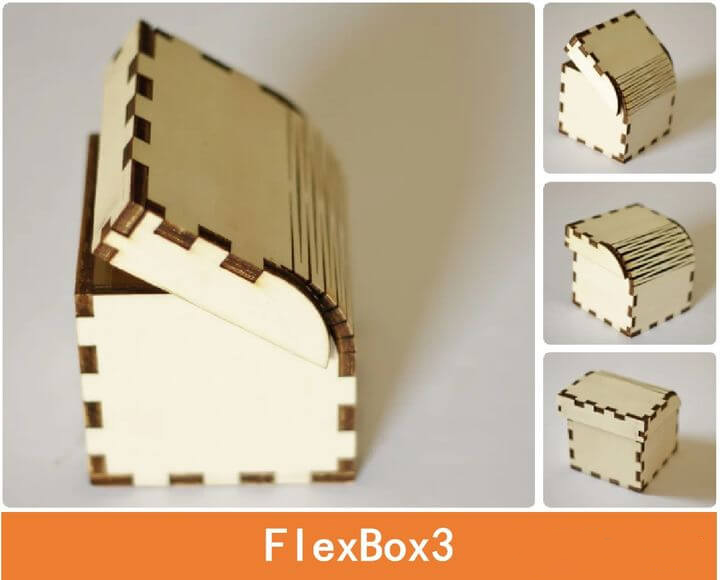
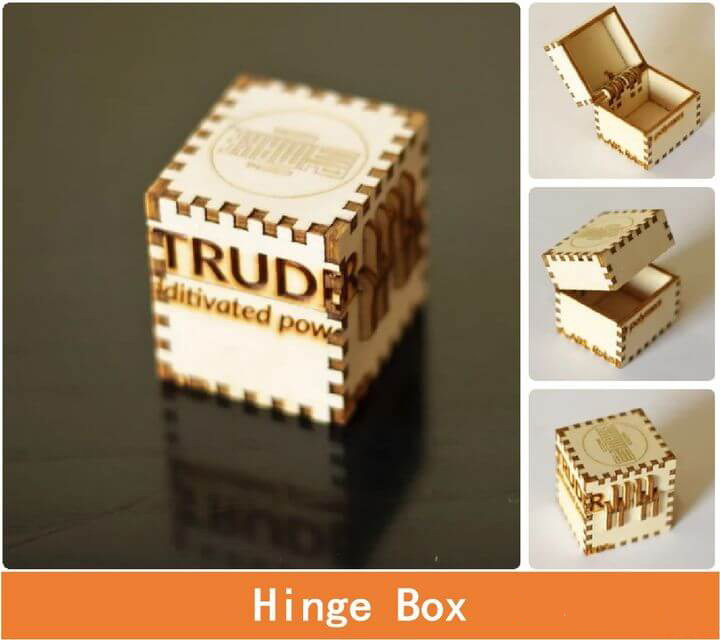
Advanced development
When we are proficient in using the laser cutting machine, we can use drawing software to draw the laser cutting structure in our project works! There are many commonly used drawing software, such as Adobe Photoshop (PS), CorelDraw (CDR), Adobe Illustrator (AI), AutoCAD (CAD), and other plane drawing software.
The UniversalBox category of Boxes.py provides a variety of drawings of the interconnection of laser cutting parts. We only need to set the parameters, save them and copy them to our drawings, and then we can realize the mutual connection of the two wooden boards or the hinged rotatable structure. We don’t need to design the connecting part by ourselves. Use Boxes.py to design your personalized box!
