There are times when laser engraving is fun, but those times can quickly turn into frustration as problems arise. You might find it hard to find good answers and keep doing your work well if you don’t know how to deal with these problems. This article aims to highlight the most common Laser Engraving Problems and Solutions.
This Laser Engraving Troubleshooting Guide can help you save significantly on repair costs. Many of these problems are quite simple and can be quickly resolved independently. However, for more severe issues, we always recommend seeking professional assistance.
Laser Engraving Depth Problems
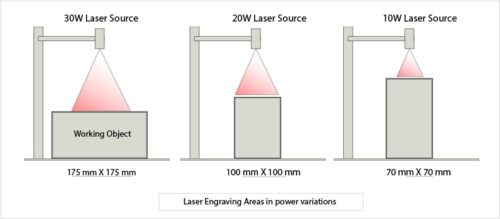
Deep laser engraving is a common way to make high-contrast designs on materials. However, inconsistent laser engraving depth is a frustrating problem. And you don’t want it. It becomes even more frustrating when you try to engrave a complex design or message. The only cause of this problem is low laser power. Even if you select high power in the laser settings, the output remains inadequate.
Low laser power can result from several different factors. The most common reason is the dirty lens. Note that the dust or contaminants on the lens may interfere with the laser focus. Thus, the concentration of the laser energy is hampered. Besides, inconsistent laser engraving may happen due to other reasons:
- Optical path issues
- Laser source problems
- Cooling System Malfunctions
- Material Reflectivity
How do we solve these Laser Engraving Problems?
Regular maintenance is the best solution to these problems, particularly before any operation. If possible, always ensure they are set up well. Clean the lenses and mirrors cautiously, using the right cleaning kits. Do not clean them with ordinary clothing; this may damage the lenses and interfere with laser focus later. You can also perform other maintenance tasks.
- You can check the alignment of the optical path.
- Also, check the cooling system. Ensure it is working correctly.
- Evaluate the laser source’s conditions. How long has it been used? Depending on the quality of the fiber lasers, a fiber laser source usually has a lifespan of between 100,000 and 350,000 hours. An outdated laser source may produce a less powerful laser beam.
- You can also check the power supply or electrical connections.
Laser Does Not Emit Light
This laser engraving problem may happen due to the main root cause. First, your laser machine might not turn on. The second cause might be that the laser source is not getting enough power.
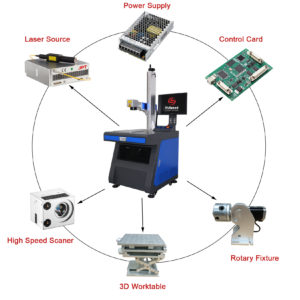
To understand the problem, you must know how a laser engraving machine works. You can search online about its layout and working principle. The power source is directly connected to the power supply. If this connection has a problem, your machine won’t start.
You will find a fuse between the power supply and the laser source when you go deeper into the layout. If this fuse is blown away, your laser source won’t emit light.
How Do You Solve These Laser Engraving Problems?
The solution to this problem is straightforward. All you need is basic knowledge about wiring and how it works.
First, check the device’s voltage input. Some machines are designed to work on 220V, while others are more or less. So, check the device’s voltage rating. If the problem persists, you can check the fuse. If it is blown away, change it.
Misaligned Engraving Patterns
Do you see the parts of the design appear displaced relative to the intended position? You may also find overlapping layers between different passes. Other misalignment issues like irregular orders, incorrect starting points, or asymmetry may also appear.
All these misalignment issues result from a loose laser head. It may loosen if the laser head experiences severe wear and tear in the pulley. Or, you can check whether the screws used for the laser head are loose.
How do You Solve These Laser Engraving Problems?
First, check the laser head for looseness to solve this laser engraving problem. Tighten it with the appropriate tool to secure the head. Ensure that the laser move is tight enough and doesn’t move. Later, check the pulley system. Do you see any signs of wear and tear? If damaged, replace the pulley to ensure smooth and precise motion.
In addition, recalibrate the machine and align the laser beam. It is better to test on a scrap piece. And, of course, you must ensure regular upkeep for better performance.
Laser is Too Hot or Not Hot Enough
Either the laser is too hot or not hot enough, which is a serious problem. If it is too hot, you can lower the laser settings. However, it isn’t easy to manage if it is not hot enough.
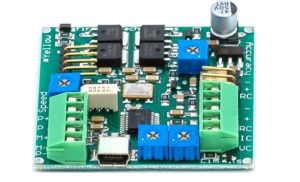
The main reason behind this is that your laser source is malfunctioning. In most cases, the power supply fails to supply the appropriate voltage to run the internal circuits. This problem may also sometimes occur due to the cooling system. When the circuit temperature is very high, the internal components sometimes malfunction.
How do You Solve These Laser Engraving Problems?
First, check whether the power supply is working correctly. Then, try increasing the coolant flow. In this case, you could use a cooling gel. Remember, using coolant typically depends on the specific type of device. If the setup involves a water-cooling system, check the water circulation throughout.
Other tricks and tips exist for increasing laser heat. But if you want a permanent solution, you must solve it through hardware repair. Check the power supply if working with the cooling system doesn’t solve the problem. As you know, the power supply typically creates a voltage for internal circuits. Check whether the internal circuit voltage is stable; it is usually 24V.
Issue on Banding
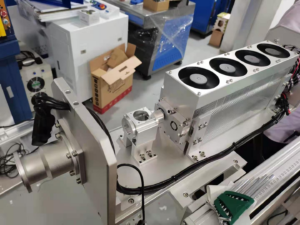
Banding is a visual defect. It can appear as unwanted lines, stripes, or patterns across the engraved surface. These lines may affect the smoothness of the engraving and, ultimately, the quality of the final design.
There are two reasons behind this laser engraving problem. The first is incorrect focus, which means the laser beam is not properly focused on the material. The second is dirty optics, which means dust, residue, or scratches on the lens or mirrors scatter the laser beam.
How do You Solve These Laser Engraving Problems?
Since this problem is similar to problem #1, the solution is also identical. Let’s recap one more tap. We can do two things to solve this laser engraving problem. First, use appropriate cleaning materials to remove dirt or residue from the lens and mirrors. Second, you can adjust the laser focus.
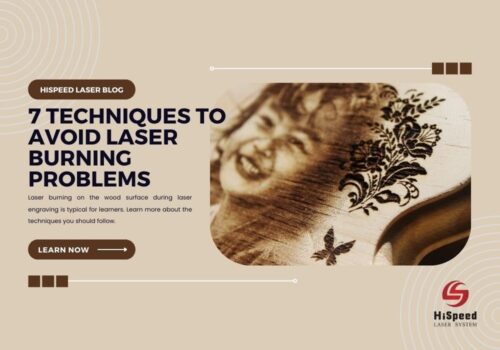
Burn Marks
Are you having the fiber “laser-making machine ring peace burned” problem? Don’t worry! You are not alone. This problem is one of the most common problems most people search online.
This problem occurs due to several reasons. The first one could be excessive laser power. The laser power setting might be too high for the material you are using. The type of laser also matters in many cases. For example, fiber lasers are suitable for marking metals. However, if you are dealing with organic materials, like wood, you would better choose a CO2 laser.
Burn marks may also form due to low marking speed, improper focus, and unsuitable materials. Dirty optics might also cause burn marks on your materials.
How do You Solve These Laser Engraving Problems?
Four recommended solutions exist for this problem. First, try adjusting the laser settings. Try to create settings for specific materials. For example, when dealing with wood, identify what type of wood you are working with. Many types of wood include hardwood, softwood, dry wood, and wet or semi-wet wood. The same can be applied to other materials as well.
Next, even if you have chosen the correct settings if the problem persists, you can try to optimize the laser focus. When focusing, you can run several tests on a sample piece. This way, you can find the best laser settings for your project. After all, good maintenance can always offer the best performance. For more information, read our extended guide, “How to Avoid Burning Marks on Wood!”
Excessive Noise When Engraving
There are several types of noises you can hear. If there is any mechanical problem, you may find grinding noise. This noise comes from motors or rails. The buzzing or humming sound may come from electrical components or loose connections. A screeching or squealing sound comes from worn-out bearings or belts. The high sparkling sound may come from reflective materials, especially metals.
How do You Solve These Laser Engraving Problems?
If you’re dealing with mechanical noise, good rail cleaning and lubrication can make a big difference! For any annoying belt sounds, try tightening or swapping out the belts. Replacing worn-out ones should do the trick if you hear a noise from the bearings.
Remember to check for loose wires and replace faulty parts to keep your electrical connections in good shape. A nice matte or non-reflective coating on the metal before engraving can help tackle those sparkling sounds during engraving.
Contact Us Today!
If you are experiencing issues beyond those already mentioned, please do not hesitate to contact our customer support team. Our highly skilled professionals are experts in laser technology and can assist you with any repair and maintenance needs. Feel free to contact us for all laser engraving problems and solutions!
